As short-form videos continue to dominate the social media landscape, Instagram Reels remain one of the best content formats for discoverability and engagement. And while creating video content can be daunting, our comprehensive Instagram Reels tutorial can help you easily turn post ideas into entertaining media.
Whether you are new to Instagram Reels or struggling with engagement, our handy Instagram Reels guide can help you create Reels that work with the algorithm for better interactions and reach.
Let’s get started!
What are Instagram Reels?
Instagram Reels are the platform’s version of short-form video content. These videos are usually between a few seconds and 90 seconds long and can feature a wide variety of content. Their limited length and highly relatable content make Reels easy to consume and very popular.
Instagram actually released Reels in 2020 to compete with TikTok after seeing the latter’s success with the short-form video format. In 2022, they extended the maximum length allowed for Reels from 60 seconds to 90 seconds to allow creators more versatility with their content and storytelling.
Despite being one of the more recent content types to be launched on the platform, Reels outperform other formats on the social media site when it comes to engagements and impressions.
How to Create an Instagram Reel in 8 Easy Steps
From its limited length and fast-paced storytelling to its targeted algorithm and versatility, Instagram Reels have the formula for success. But before you start seeing results, you first have to know how to create quality Reels. Our simple IG Reels tutorial can help you make Reels in a few simple steps.
Let’s go over these steps below.
#1. Conceptualizing Your Reel
The first and most important step in our Instagram Reels tutorial is the conceptualization and planning stage.
Before shooting your Reel, ask yourself some of the following questions:
- What kind of topics will you focus on?
- How will the content of your Reels fit in with the posts and stories on your Instagram feed?
- What kind of content will appeal to your target audience?
After that, spend some time looking through the app to see if there are any visuals, text, trends, or aesthetics that you could use as inspiration. Once you have a solid direction and understanding of the goal of your Reel, storyboard your content by breaking down the clips you need to shoot to make the concept work.
This way, you’ll be able to visualize how your Reels will look and have a clear strategy on which to base them. There are several video ideas you can try for Reels, such as jumping on trends, promoting your brand, and introducing new content, so don’t be afraid to experiment.
#2. Gathering Material
Now that you have a plan, the next step in our Instagram Reels tutorial is to gather the materials you need for the shoot. While Reels don’t necessarily need a large setup, and you can easily shoot them just sitting down, putting more effort into your video production will pay off as higher-quality Reels often perform better.
To ensure that your shoot goes smoothly, consider preparing all your equipment, such as microphones and lighting, in advance. Also, if you’re planning to shoot your Reel in an outdoor location, try to reserve the place so that there are no interruptions. This preparation will help you make the most of the Reel insights that can enhance your content’s performance.
That said, if you don’t have any of this equipment readily available or don’t want to spend on an outdoor shoot, you can just shoot your Reel indoors. Find a well-lit and quiet space in the house to ensure that your voice is well-heard, and just use your phone’s built-in camera and microphone.
#3. Accessing the Reel Feature
Instagram Reels have a dedicated tab on the app and use a separate algorithm from other posts on the platform. When you open the Instagram app, you’ll find the Reels icon on the bottom bar, in between the Plus and Profile icons.


When you click on the Reels icon, you’ll immediately see your recommended videos. These will be a mix of original videos, ads, and promotional content. Occasionally, you may also get a collection of “Suggested for you” Reels. These are often sponsored videos that the algorithm recommends based on the posts you like and the accounts you follow.
On the right sidebar, you’ll find the like, comment, and share buttons. When you tap on the three-dot icon below that, you will see the option to save, Remix, and Sequence Reels.
Remixing allows you to edit the original Reel by adding effects, filters, stickers, and other elements. Meanwhile, Sequencing allows you to add new clips to the existing Reel.
#4. Recording or Uploading the Video
The next step in our Instagram Reels tutorial is creating your Reel. Now, there are two ways to do this on the app: recording and uploading.
To record your Reel, you can click on the Plus icon on the home page or the camera icon on the Reels tab. On the left sidebar, you’ll see Instagram’s built-in tools that make it easy for you to shoot quality Reels, such as gesture control, green screen, and layouts.
You can also shoot your Reel in segments, as Instagram allows you to record in 15, 30, 60, and 90-second intervals.

If you plan to upload a pre-recorded video, access the Reel option once again on the home page and select the media that you want to use. You can also upload videos in segments, which can be handy when creating Reels using different clips.

After selecting all your videos, you can trim each one and choose the transition effect between clips to ensure a more seamless viewing experience. You can also rearrange the order of the videos for more cohesion.
#5. Add Music to the Reel
When shooting your Reel directly on the app, you have the option to record with “audio” or with “music from Instagram.” But if you’re uploading a pre-made video, you would need to add the music when editing.
After trimming your videos, tap on the music icon in the upper right corner to access the app’s music library. The music on Instagram is governed by copyright laws, which can affect the availability of songs in some areas. So, if you can’t find a specific song on the platform, it may not be available in your specific region.
You can see how many Reels used that specific audio, which can help you find trending music to use for your videos. On the Reels tab, videos that use trending audio will have a small arrow icon pointing upwards in the lower left corner.

Tap on the audio you like and choose the snippet you want to use from the song. You can also add on-screen captions that appear and disappear with the beat of the music to make your Reel more visually appealing.

#6. Editing and Enhancing
The next step in our Instagram Reels tutorial is to edit and enhance your video. On the editing screen, you’ll find several features that make your Reel more engaging, such as adding text, filters, and AR effects.
The app also has a varied selection of interactive stickers, such as Add Yours, questions, and location tags. These features are especially useful for improving engagement, as they encourage viewers to interact with your story.
Just make sure to keep your target audience in mind when editing your Reels. For instance, if you want to appeal to a younger audience, there are several elements you need to use and/or avoid in your videos to fit the millennial aesthetic.

#7. Adding Captions and Hashtags
After editing your Reel, the next step in our Instagram Reels tutorial is to optimize it with a caption and hashtag. An effective caption should give your audience context and make your Reel searchable. To do this, you can try using relevant keywords in your captions and giving a brief description of your video’s content. Captions are limited to 2,200 characters, so be sure to maximize this space.
Hashtags, on the other hand, help boost your Reel’s discoverability. Instagram uses hashtags to categorize your content, making it much easier for you to connect with your target audience. When adding hashtags, we recommend using a mix of trending and niche hashtags.
Using trending hashtags will help increase your Reels’ visibility, while niche hashtags will help you reach your target audience. To find the best hashtags to use for your Reels, you can conduct competitor analysis to see what hashtags they are using or use a hashtag generator to automate this process.
#8. Final Review and Sharing
The last step in our Instagram Reels tutorial is to preview your post.
To make sure your Reel is ready for posting, here is a handy checklist you can use:
- Is the video playing properly?
- Are the audio and on-screen captions in sync?
- Is my message conveyed clearly?
- Are there no typos in the captions or hashtags?
Once everything is good, you can edit your thumbnail, tag people, and adjust the post settings. You can also choose to hide the like count or limit Remixing or Sequencing on your Reels.
Before posting, remember to tap Upload at highest quality to ensure that your videos are published at the best frame rates and resolutions.
Once your Reel is posted, you can share it on Instagram Stories and other social media platforms to reach a wider audience. However, keep in mind that different sites will have different requirements for video content, so you may need to optimize your video before posting.

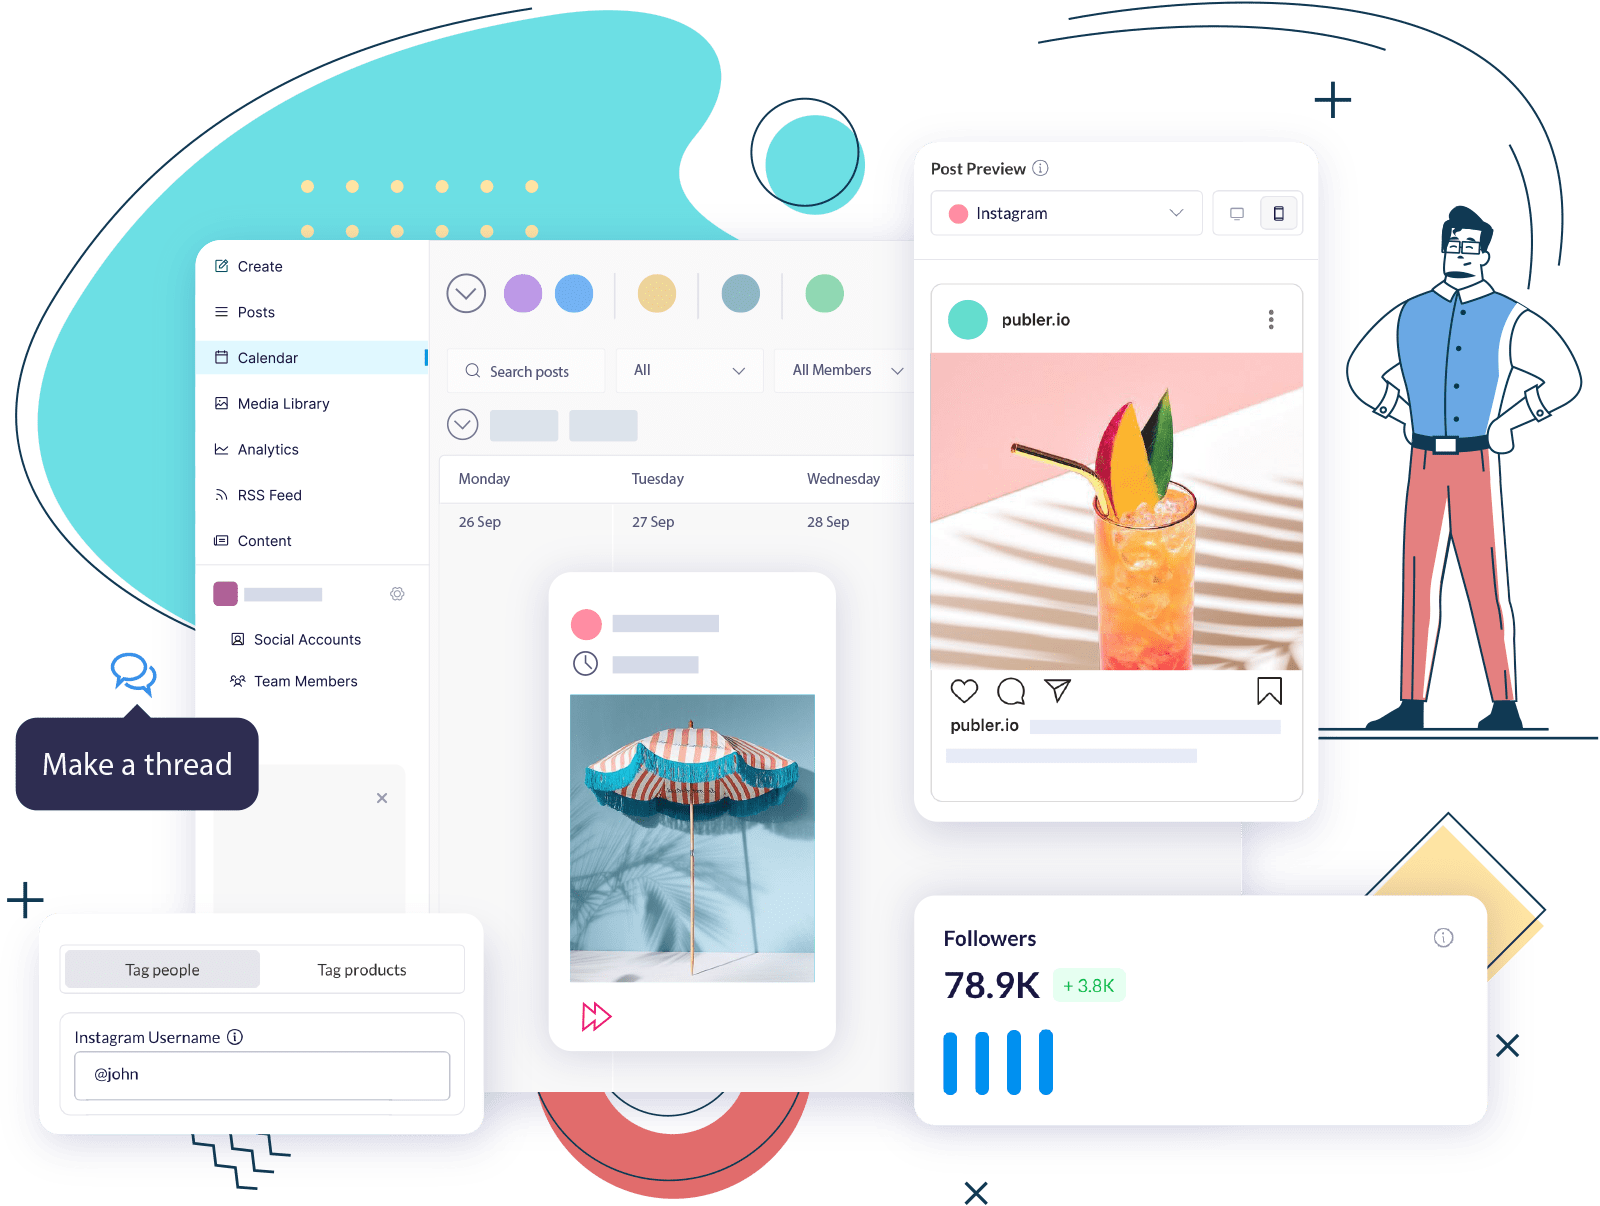
How To Post an Instagram Reel Using Publer
If you’re planning to use Reels in your content strategy, consider scheduling your Instagram Reels in advance with Publer. There are several advantages to doing so, such as saving time, maintaining a consistent posting schedule, and optimizing your content strategy.
Here’s a quick Instagram Reels posting tutorial for beginners on Publer.
Create an account on Publer using your email address or an existing social media account.

After signing up, you can create a workspace where you can connect to and manage all your social media accounts, including Instagram.

Once your Instagram account is connected to the platform, you can start creating and scheduling your Reels.
To do this, navigate to the Create tab and select Reel from the post options.

Then, you can upload your pre-made video and add the necessary details. You can use Publer’s AI Assist to help you craft an engaging caption and our hashtag generator to find the most relevant hashtags for your Reel.

When all the details are complete, you can publish your Reel right away or schedule it using one of Publer’s four scheduling options: Manual, Autoschedule, Recycle, or Recurring.
Instagram Reels Tutorial – 11 Advanced Tips
After mastering our Instagram Reels tutorial, it’s time to learn some tips and tricks for creating high-quality Reels that attract and engage viewers.
#1. Hook Your Audience
A Reel only has a few seconds to captivate the viewer, so hook them in right away with a catchy opening. Use trending visual elements to encourage them to view your reel, and try to present important and straightforward information at the beginning to keep the audience’s attention.
#2. Encourage Viewer Comments
Having comments on your Reels shows casual scrollers that your page is active and responsive. But how do you encourage viewers to leave comments in the first place? Well, the simplest way to do so is to ask for them.
You can end your captions with a question that’s related to the Reel. For instance, if you post about a recent hiking trip, you can ask viewers what mountain they want to see you climb next or ask for suggestions on what to bring.
#3. Record Reels Hands-Free
In our Instagram Reels tutorial, we explained that you can shoot Reels directly on the app. But if you’re recording yourself, you will likely be holding the phone, which can limit your hand gestures and movements.
To ensure that you can be as engaging as possible in your Reel, consider shooting hands-free. You can use Instagram’s Countdown feature to set a timer so you can get into position before the recording starts.
#4. Use the Align Tool
The Align tool is another great feature to utilize on Instagram. This allows you to create neat tricks and transitions in your video without having to edit it.
With the align tool, you can pause the recording at any time to bring up an overlay of your last frame. Then, you can change outfits or hold products and other props before aligning yourself with the image and recording again.
This creates a seamless transition in the finished Reel that’s perfect for stop-motion videos and rapid change effects.
#5. Use CTAs
To increase engagement with your audience, consider including a call to action in your video. For instance, if your Reel is about a new product, you can add a link to the product in the caption. Leveraging strategies from boosting Instagram posts, such as targeting specific audiences and using compelling visuals, can also enhance your Reels’ performance. On the other hand, if your Reel is part of an ongoing video series, you can promote your other videos and encourage users to view your additional content.
#6. Make Multi-Scene How-To Reels
As we discussed in our Instagram Reels tutorial, Reels don’t have to be one video only; you can shoot or upload them in segments. This feature makes Reels ideal for creating multi-scene how-to videos without having to splice your videos manually.
Brightcove and Ascend2’s recent survey found that how-to videos have the highest level of consumption among all video content, maintaining more than 50% across all generational groups. So, if you’re planning to include videos in your content strategy, tutorials are a great place to start.
#7. Use External Editing Apps
Instagram offers some in-app editing features, but if you really want to take your Reels to the next level, consider using an external app to edit your videos. Just remember to keep your videos within the recommended post dimensions to ensure an optimal viewing experience.
CapCut, Canva, and Adobe Rush are some excellent Instagram Reels editing apps to try. These tools offer great creative flexibility and allow you to create stunning visual effects that can help your Reels stand out on the platform.
#8. Add Voiceover to Reels
Depending on your content, a voiceover may be a better fit for your Reel than a music snippet. We explained how to add music in our Instagram Reels tutorial, but the process for adding voiceovers is pretty much the same. To add a voiceover, click on the music icon and tap Voiceover from the options to create a recording for your Reel.
#9. Exploit Trending Topics
The algorithm tends to favor videos that follow current trends, as these are seen as generally popular. Because of this, incorporating viral elements or covering timely Instagram trends in your Reels is a great way to improve your chances of being visible on the Reels tab.
That said, be sure to maintain your branding in your videos so you can attract viewers and followers who are actually interested in your brand and type of content.
#10. Use the Green Screen Effect
Another excellent feature we briefly mentioned in our Instagram Reels tutorial is the platform’s green screen effect. With this tool, you can easily switch your background to a fun image, a branded graphic, or even a video. This is especially useful when shooting indoors.
You can make your image on the screen bigger or smaller, depending on how much of the background you want to show.
#11. Collaborate with Influencers
Influencer marketing is one of the top Facebook trends for 2024, which means it’ll only be a matter of time before other social media platforms follow suit. Some ways you can explore this trend on your Reels is by collaborating on videos, reposting user-generated content featuring your products, or whitelisting influencer content.
Conclusion
Instagram Reels have unlimited potential for brand growth and engagement, and knowing how to utilize them effectively in your content strategy will be your key to success on the platform.
With a solid content plan, the right tools, and some handy tips and tricks, you can start posting Instagram Reels on your profile and see the difference it makes in your social media presence.

Ervin Kalemi