Despite the popularity of short-form video platforms like TikTok, Facebook still remains the top social media platform, with over 3 billion users. Targeting this market is great for building your business and creating brand awareness, and one of the best ways to do this is by learning how to schedule Facebook posts.
Scheduling posts means your feed stays active regardless of your current circumstances. You can be on an island getaway and ensure that you are still posting relevant content and keeping your audience engaged.
In this article, we’ll discuss the best ways to schedule your Facebook posts, how you can start scheduling more effectively, and what benefits you can expect. Let’s get right to it!
How to Schedule Facebook Posts Using Meta Business Suite
To schedule Facebook posts using Meta Business Suite, you need to have a Facebook page. Unfortunately, it’s impossible to schedule posts on a personal Facebook account, but you can easily create a Page to begin planning your posts.
Step 1: Create a Facebook Page
Create a Facebook page by logging on to your Facebook account and navigating to the Pages section.
Click on Create new page. Then, add all the necessary details, such as your page name and page category. You will see a preview of your page on the right side of the screen.

When done, click on Create Page and wait for your page to finish loading. You can also finish setting up your page by adding your contact details, available hours, and location.
Customize your page by adding a display and cover photo, connecting your WhatsApp account, and inviting friends.
Step 2: Create a Facebook Post
To create a scheduled Facebook post, go to the Meta Business Suite website. Then, click on Create Post from the Home page.

If you have a connected Business Instagram account, Meta will automatically schedule the post for both platforms. To share on Facebook only, click on Post to and uncheck the option for Instagram.

Upload your selected media and edit the photo by adding a filter, text, stickers, or alt text.

Add a caption and relevant hashtags, then check the preview of your post for mobile and desktop on the right.

Step 3: Schedule Your Facebook Post
When you are happy with your post, scroll down until you see the Scheduling options, then select a date and time when your post will be published. Meta allows you to schedule Facebook posts from 20 minutes up to 29 days in advance.

Alternatively, click on Active times to let Meta schedule your post when your audience is most active.
Then, click on Publish to schedule your post. Don’t worry—you can still change the schedule and edit your post later if you change your mind.
How To Schedule Facebook Posts With Publer: 3-Step Guide
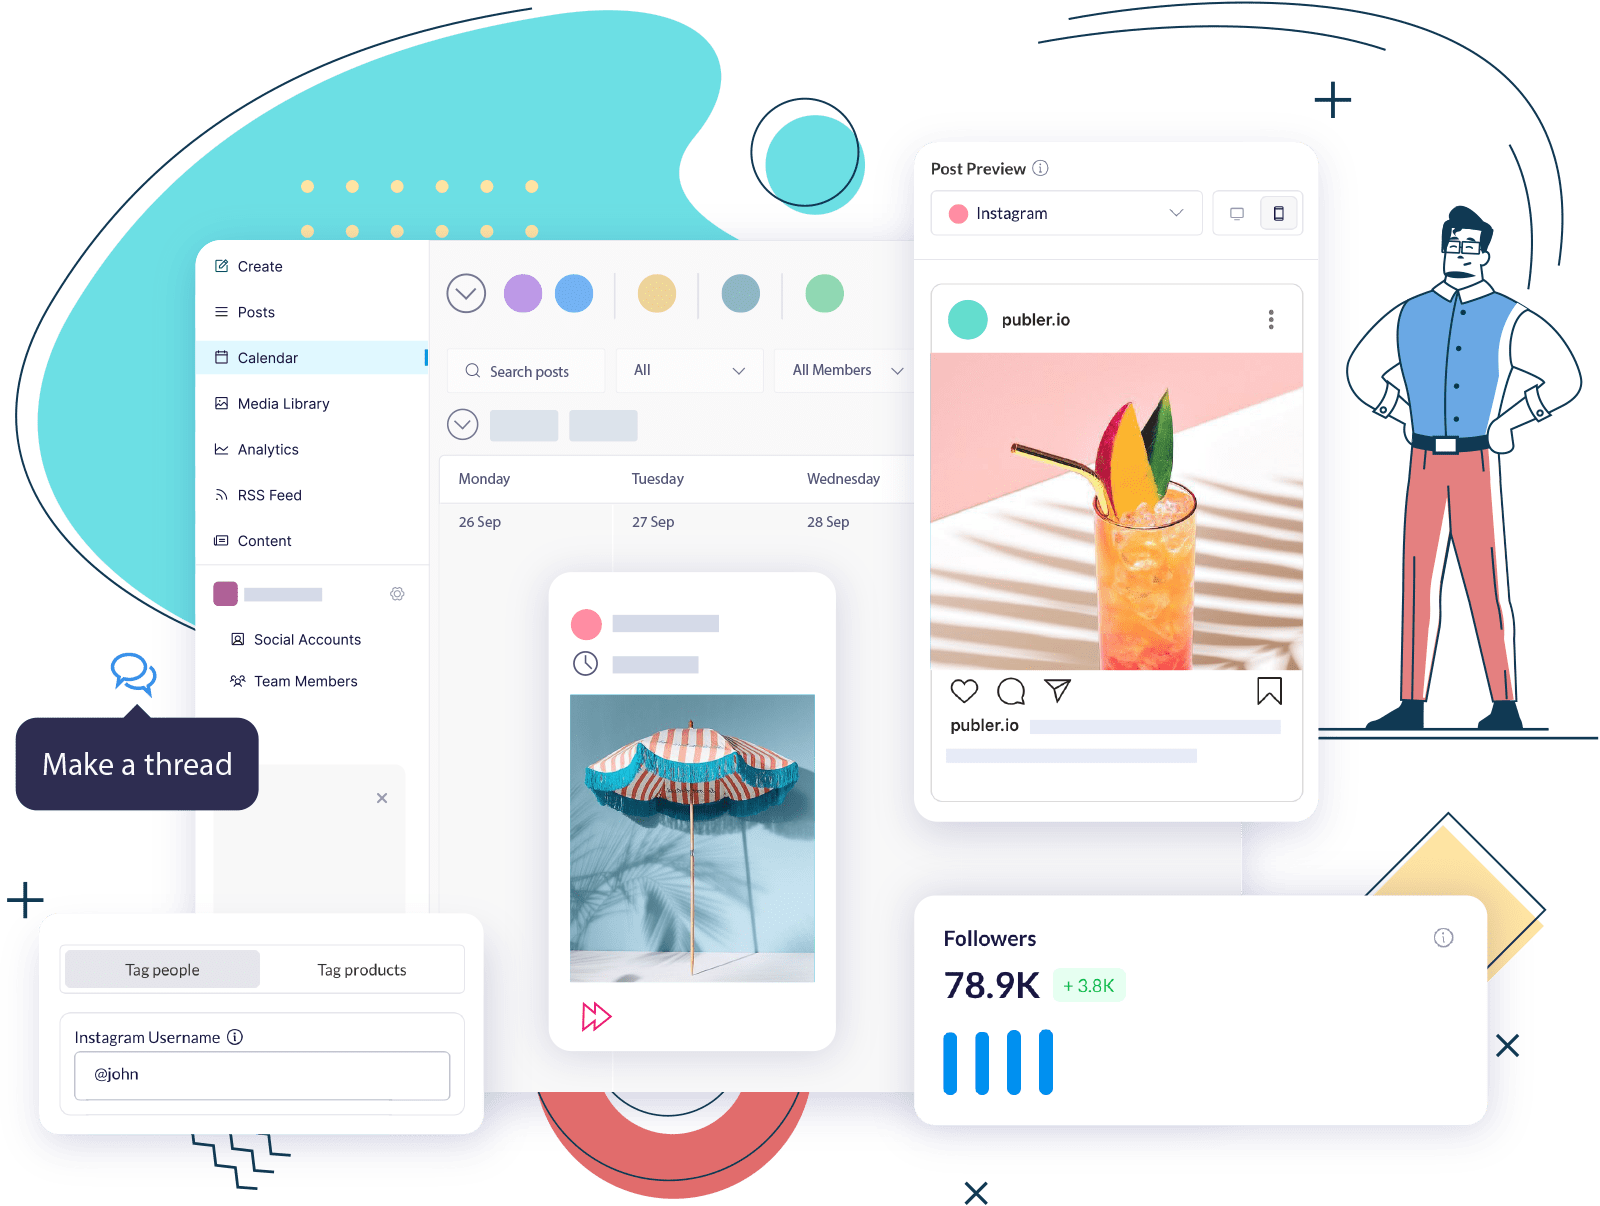
If you don’t want to go through a ton of steps and need a simple solution, you can schedule your Facebook posts with Publer in just three simple steps. Publer is a complete social media scheduling platform where you can easily manage and schedule content for all your social media accounts. Learn how to start scheduling with our platform:
#1. Create a Publer Account
Create a Publer account by signing up using your email address or Facebook account.

If you choose to sign up with Facebook, click on Continue and provide the email address you use for the account.

Click on Save and check your email for the confirmation message. After you have successfully connected your account, you’ll be asked to create a workspace where you can easily manage all your accounts.

After this, you can connect all the social media accounts you want to handle on the platform.
With Publer, you can even schedule posts on your personal profile! To do so, connect your account by going to the Social Accounts tab, clicking on Connect, and choosing Profile. There is no need to create a separate Facebook page or group to promote your personal brand.

#2. Create a Facebook Post
Create a scheduled Facebook post by tapping on your Facebook account on the Create tab and crafting your post as usual.
You can also choose to share the post on your Instagram account or learn how to schedule Instagram posts separately to take advantage of our platform’s unique features.

Add your caption, hashtags, and chosen media. With Publer, you can schedule multiple photos in a post or an existing album. You can also use AI Assist to create a fun and catchy caption for your post.
If you are uploading multiple images or videos in one post, you can add a caption for each image that doesn’t go well with the original caption.

Keep in mind that when sharing media that isn’t yours, you should provide proper credits to avoid getting in trouble. Use Publer’s Watermarking feature to protect your original content.
When done, check the preview of your post on the right side so you can make any necessary changes.

#3. Set Posting Schedule
If you are happy with how your post looks, you can set the schedule for it using one of Publer’s scheduling options: Manual, AutoSchedule, Recycle, or Recurring. You can also schedule in bulk and create up to 500 unique posts at once!
- The Manual scheduling option lets you choose the exact time and date of your scheduled post.
- Autoscheduling uses the timeslots you create on Publer to schedule your posts automatically. This is great for bulk scheduling, as manually choosing the dates every time can be time-consuming.
- The Recycling option allows you to reshare the post you created. This way, you won’t have to constantly think of new content to publish and still keep your feed active.
- Recurring posts work the same as Recycling, but they have a limited reposting time. This feature can be handy for announcing seasonal events and limited-time promotions.
After choosing a schedule, you can view your scheduled post on the Calendar tab at any time to make some changes or to reschedule.

4 Benefits of Scheduling Facebook Posts
If you’re wondering if there are any benefits to scheduling Facebook posts instead of manually creating them, read on as we discuss their advantages below:
#1. Plan Your Content Strategically
Bulk-creating posts allows you to plan content more strategically. Think about what holidays or events are relevant to your brand or business, and tailor your posts to capitalize on them.
When you plan in advance, you also get to space out and vary your content more efficiently. Suppose you already have two videos scheduled to go live next week; consider switching things up with an image or text post for variety.
#2. Maintain Consistency
When you schedule your Facebook posts, you can easily maintain a consistent posting schedule of quality content. You won’t have to rush the content creation process, which can lead to mistakes, just to have something to post for the day.
Scheduling ensures that your page stays visible to your audience. By publishing content regularly, you will stay on top of the news feed where new followers can discover your page. This also gives your audience something to look forward to, maintaining their interest in your brand.
#3. Increase Engagement
Scheduling posts allows you to publish content during peak times on Facebook, which helps increase your visibility and engagement. When you schedule posts, you also save time in your day-to-day, which you can use to interact with your audience and keep engagement rates high on your page.
This tells Facebook’s algorithm that your page is an active and consistent source of quality content and will continuously feature it in the news feed.
#4 Target Different Time Zones
Brands with an international audience can schedule Facebook posts to target audiences in different time zones. Rather than waking up really early or staying up late just to post your content, use a scheduling tool to determine your international audience’s most active hours and schedule your posts to go live then.
6 Expert Strategies for Scheduling Facebook Posts
Now that you know the benefits of scheduling, let’s discuss some expert strategies to keep in mind when creating your scheduled post to maximize these benefits:
#1. Maintain Your Brand’s Voice
Maintaining your branding across all your content is the key to reaching your target audience. A strong and unique brand voice makes it easier to create content that resonates with your audience and will attract followers who are genuinely interested in your brand.
You can use Publer’s bulk scheduling feature to ensure the consistency of your branding. Check all your scheduled posts on the platform’s unified calendar to see if the media, captions, and tone of your posts all reflect your brand’s voice and make changes if necessary.
#2. Create a Content Calendar
Creating a content calendar helps you stay organized and avoid overscheduling your posts. Having a detailed overview of all your posts before they are published helps you avoid posting about the same topics twice, ensuring that your feed stays varied and interesting.
Planning posts in advance also reduces the risk of mistakes. A content calendar can prevent typos, false information, and other embarrassing mistakes. While posting consistently is important, be careful not to post too much, as this can overwhelm your followers.
#3. Track Engagement
Always track your engagement rates to see what’s working for your brand and what’s not. What type of post got the most traction? When was it posted? What was the post about? All these can help you determine the best type of content to publish, helping boost interactions and grow your audience.
Publer has a comprehensive Analytics tool that features detailed metrics for your account. This includes post insights, audience demographics, and hashtag analysis. Publer uses this data to determine the best time to post on Facebook so you can publish content when your followers are most active.
#4. Use a Scheduling Tool
Using a scheduling tool for Facebook lets you do more on the platform. Scheduling natively is limited and doesn’t allow you to bulk schedule all types of posts. You can also only schedule up to a month in advance.
In comparison, Publer offers more scheduling options and allows you to schedule posts up to 2 years in advance. This helps you save time so you can focus on other aspects of your business.
#5 Don’t Forget to Respond to Comments
With the bulk of posting content taken care of, take the time to respond to the comments you get on your posts. Commenting will leave a positive impression on your followers and help your post stay on top of the Feed. It will also encourage more people to engage with your content and help you build a strong relationship with your audience.
#6 Crosspost Content
Crossposting content on Facebook can help you reach a wider audience. By sharing the same content across different social media platforms, you increase the chances of reaching your target audience.
This is also a great time-saving feature for promoting a specific product or an upcoming event. Not everyone uses Facebook, so crossposting is a great way to promote your page on other platforms and redirect that traffic back to Facebook.
Use Publer to Schedule Facebook Posts
Watch your followers grow, get more likes, and see more results when you sign up for a free plan on Publer! Experience how our powerful scheduling capabilities can improve the way you share content and engage your audience. The best part is that you can try our free 7-day trial, where you can get full access to all the features on our platform before committing to a paid plan.
Key Takeaways
Whether you’re a small business owner or a budding content creator, learning how to schedule Facebook posts strategically can give you an advantage and maximize your impact on the platform. Simplify your content posting strategy and stay ahead of the competition with Publer’s extensive scheduling features.
How to Schedule Facebook Posts FAQ
Does Facebook allow scheduled posts?
Facebook allows scheduled posts up to 29 days in advance on the Meta Business Suite. You can also schedule video posts in bulk, but not other types of posts, such as images, texts, or links. Unfortunately, you can’t schedule posts on the Facebook app.
How do I manage scheduled posts on Facebook?
To manage your scheduled posts on Facebook, go to Meta Business Suite and click on Planner on the left sidebar. Here, you’ll be able to see, edit, or reschedule all your scheduled posts.
Why can’t I schedule a post on Facebook?
If you can’t schedule a post on Facebook, it’s likely because you have a personal profile. Facebook only allows scheduling natively for Facebook Pages. To schedule posts on your personal profile, consider using a scheduling tool like Publer.
How can I schedule Facebook posts from my phone?
To schedule Facebook posts on your phone, you can use the Meta Business Suite app. However, as the app has limited features, considering a social media management platform like Publer may be a more comprehensive alternative.
Can you schedule posts for a Facebook group?
You can schedule posts for a Facebook group as long as you are an admin or moderator for that group. Alternatively, you can add your Facebook group on Publer to allow everyone in your workspace to schedule posts.
What kind of content can you schedule on Facebook?
Some of the content you can schedule on Facebook includes posts, stories, and lives. You can also streamline your posting schedule by using a scheduler like Publer to create and plan posts in bulk.
Can you create recurring Facebook posts?
You can create recurring Facebook posts natively, but only for Facebook groups. A scheduling platform like Publer may come in handy to schedule recurring posts on your page or personal profile.

Ervin Kalemi